There is a big change in the way direct provisioning is done from OIM (Oracle Identity manager) to OID(Oracle Internet Directory) using OIM 11.1.2 connectors.
The connector documentation available for OIM 11.1.1 is http://docs.oracle.com/cd/E22999_01/index.htm
The same documentation can be used for configuring provisioning/reconciliation using OIM 11.1.2 connectors. But, there is a difference in the way resource is added in 11.1.2 OIM screens and this blog will help you perform it.
I did not come across OIM 11.1.2 specific connector documentation yet.
Pre-install Tasks
Creating a Target System User Account for Connector Operations
http://docs.oracle.com/cd/E22999_01/doc.111/e28603/deploy.htm#BGBDBGIE
Download the connector software from
http://www.oracle.com/technetwork/middleware/id-mgmt/downloads/connectors-101674.html
Link: http://download.oracle.com/otn/nt/ias/connectors/111/OID-11.1.1.6.0.zip
Perform pre-installation task (unzip the zip file in ConnectorDefault directory)
[oracle@oim-server ConnectorDefaultDirectory]$ pwd
/u01/Middleware1/Oracle_IDM1/server/ConnectorDefaultDirectory
[oracle@oim-server ConnectorDefaultDirectory]$ unzip OID-11.1.1.5.0.zip
Archive: OID-11.1.1.5.0.zip
creating: OID-11.1.1.5.0/
creating: OID-11.1.1.5.0/bundle/
inflating: OID-11.1.1.5.0/bundle/org.identityconnectors.ldap-1.0.6380.jar
creating: OID-11.1.1.5.0/configuration/
inflating: OID-11.1.1.5.0/configuration/eDirectory-CI.xml
.
.
inflating: OID-11.1.1.5.0/xml/OID-ConnectorConfig.xml
inflating: OID-11.1.1.5.0/xml/OID-Datasets.xml
[oracle@oim-server ConnectorDefaultDirectory]$
[oracle@oim-server ConnectorDefaultDirectory]$ cd OID-11.1.1.5.0
[oracle@oim-server OID-11.1.1.5.0]$ ls
bundle configuration documentation lib readme.html resources xml
Configuring OIM – OID Connector in Provisioning mode.
Install the connector by login to http://<oim-hostname>.<domain>:14000/sysadmin/
Login:

Xelsysadm/<pwd>
Click on manage connectors

Refresh this page J

Connector installation.


Click Load and wait till page loads 3 times.

Installation Successful
Run Oracle Identity Manager PurgeCache utility to load the server cache with content from the connector resource bundle
[oracle@oim-server bin]$ pwd
/u01/Middleware1/Oracle_IDM1/server/bin
[oracle@oim-server bin]$ export APP_SERVER=weblogic
[oracle@oim-server bin]$ export OIM_ORACLE_HOME=/u01/Middleware1/Oracle_IDM1
[oracle@oim-server bin]$ export JAVA_HOME=/u01/jdk1.6.0_37
[oracle@oim-server bin]$ export WL_HOME=/u01/Middleware1/wlserver_10.3
[oracle@oim-server bin]$ ./PurgeCache.sh all
For running the Utilities the following environment variables need to be set
APP_SERVER is weblogic
OIM_ORACLE_HOME is /u01/Middleware1/Oracle_IDM1
JAVA_HOME is /u01/jdk1.6.0_37
MW_HOME is /u01/Middleware1
WL_HOME is /u01/Middleware1/wlserver_10.3
DOMAIN_HOME is /u01/Middleware1/user_projects/domains/IDAM_domain
[Enter the admin username:]xelsysadm
[Enter the admin password:]
[Enter the service url : (i.e.: t3://oimhostname:oimportno for weblogic or corbaloc:iiop:oimhostname:oimportno for websphere)]t3://<oimhostname>.<domain>:14000
weblogic.jndi.WLInitialContextFactory
UsernamePasswordLoginModule.initialize(), debug enabled
UsernamePasswordLoginModule.login(), username xelsysadm
UsernamePasswordLoginModule.login(), URL t3://<oimhostname>.<domain>:14000
PurgeCache Login Success…
Purging the cache categories:[all] is successful
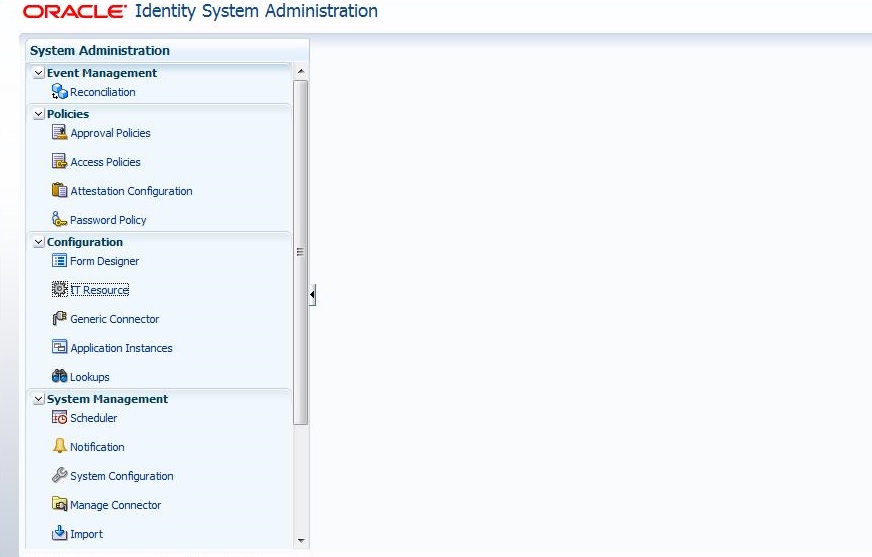
Configure IT resource for the Target System
IT resource name: OID Server
IT Resource type: OID Server
Configuration Lookup: Lookup.OID.Configuration
Connect Server Name : <leave blank=”>
baseContext : “dc=<client domain>,dc=com” (Note: Make sure you put the base context in quotes)
credentials : ****
failover : <blank>
host : <oid host=”>
port : <oid port>
principal : cn=orcladmin
ssl : false
Login to http://<oimhostname>.<domain>:14000/sysadmin

Click Search
If you see an Error Page -> refresh the page by pressing F5 button.

Click edit

* Did not install and configure the connector server for OID
* Did not configure SSL for the connector
* Did not Enabling Logging for the Connector
Post-installation steps:
Clearing Content Related to Connector Resource Bundles from the Server Cache by running purgecache.sh script.
Setting up the Lookup Definition for Connection Pooling (optional, did not do it for now)
Perform the following inside the OIM design console
Login to design console and make sure auto save feature is enabled in the OID user form (resource object).
Login to design console by running $ORACLE_HOME/designconsole/xlclient.sh
In the design console check Lookup.OID.Organization
You will see only 281/LookupOIDOrg
Add the following entry to Lookup.OID.Organization lookup:
Code Key: 281~cn=Users,dc=<client domain>,dc=com (where 281 is the IT resource key)
Decode: OID Server~cn=Users,dc==<client domain>,dc=com (where LDAP_server is the IT resource name)
Run the 2 lookup field reconciliation jobs:
OID Connector Group Lookup Reconciliation
Parameters (stuck with ones populated by default)
key code attribute : dn
decore attribute : cn
IT resource name : OID Server
Lookup Name : Lookup.OID.Group
Object Type : Group
OID Connector OU Lookup Reconciliation
key code attribute : dn
decore attribute : ou
IT resource name : OID Server
Lookup Name : Lookup.OID.Organization
Object Type : OU
Performing Provisioning Operations (Direct Provisioning)
In 11.1.2 OIM resource object cannot be directly assigned to a user.
We need to create an application instance.
So the procedure is as per the following:
a. Create a sandbox. Do not publish it now.
b. Create an application instance
Populate the following:
Name: AppInstance1
Display Name: AppInstance1
Resource Object: OID User
IT resource instance: OID Server
Form: Create
Resource Type: OID user
Form Name: Form 1. Make sure bulkload options are enabled for all fields in the form.
In the organization for the application instance populate “Xellerate Users”
Click on checkbox for entitlement below.
Run Catalog Synchronization job from scheduler in OIM
Publish the Catalog.
Run Catalog Synchronization job from scheduler in OIM (does not cost to run multiple times).
c. Create a user in OIM:
Firstname: Subhajit
Lastname: Chaudhuri
Organization: Xellerate Users (depends)
Organization Type: Consultant (depends)
Userlogin: chaudhuri
Password: ****
Confirm password ****
Once the user is created, go to Accounts tab
Click on request Account
Search for Catalog with string OID
Add AppInstance1 Application instance to the cart.
d. Push the following information in the form:
Userid
Password
First Name
Last Name
Container DN = OID Server~cn=Users,dc=<client domain>, dc=com
ssouid
Email ID abc@pythian.com
Preferred Language
Click on Ready to Submit
Click on Submit
e. User will now get provisioned.
Check on resource summary for the user.
System Validation Completed
Create User done.
f. Log into ODSM in OID
Check that the user got provisioned there as well.


